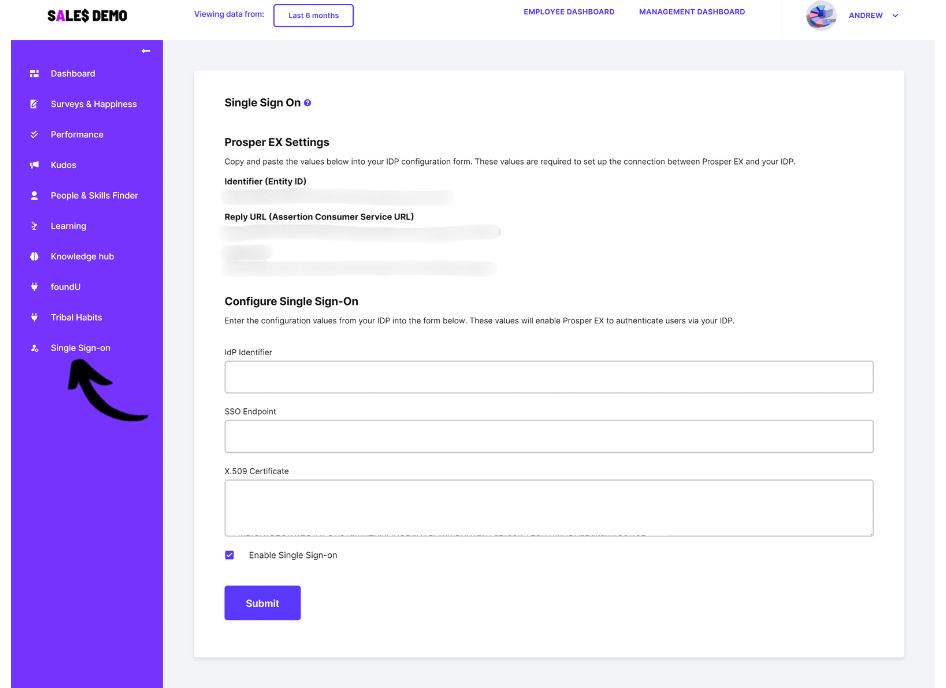
Step 1 – Log into Prosper EX and open the Single-Sign-On menu item.
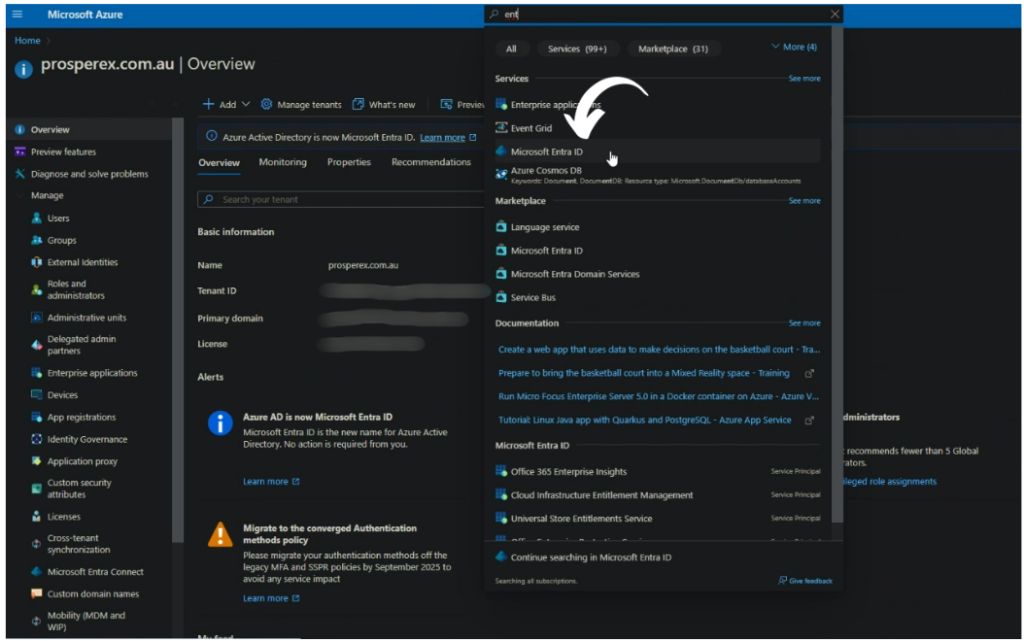
Step 2.1 – In another tab open and log in to Azure. Navigate to Microsoft Entra ID.
Step 2.2 – Create New Enterprise Application.
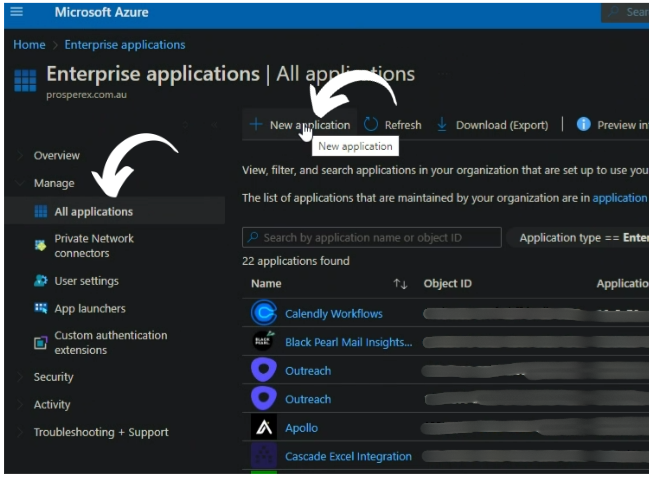
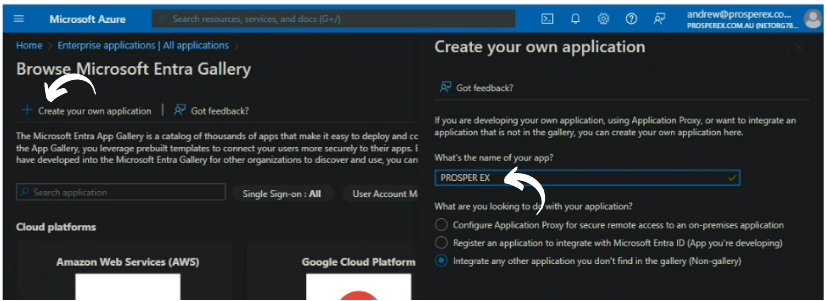
Step 2.3 – Create your own application and name the application ‘PROSPER EX’.
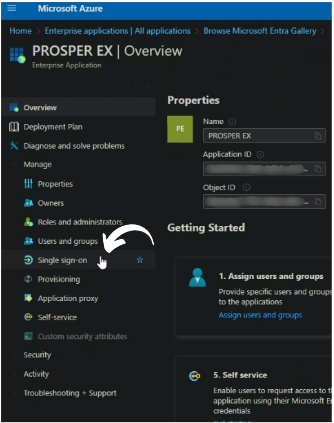
Step 3.1 – Now you have your application, go to Single-Sign-On
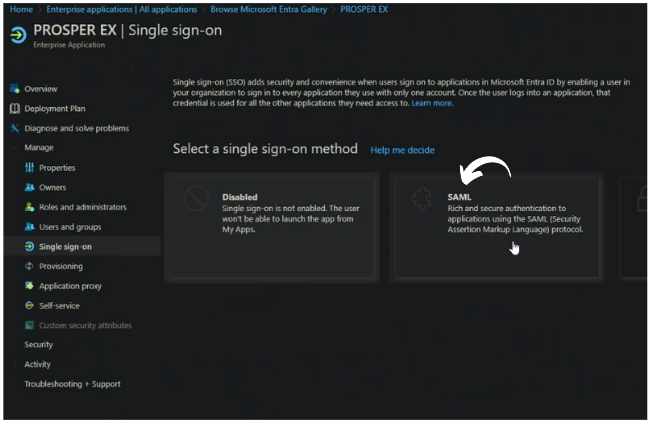
Step 3.2 – Select ‘SAML’.
Now you have all the required information follow step 4 to complete the set up
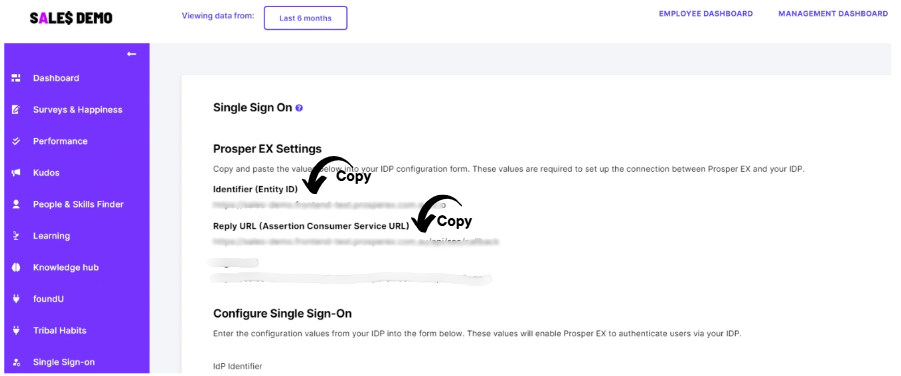
Step 4.1 – Re open the Prosper EX tab and copy & paste the Identifier (Entity ID) and Reply URL then paste to Azure as below.

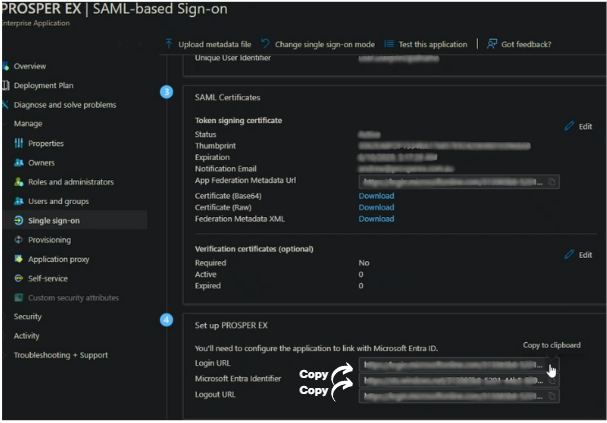
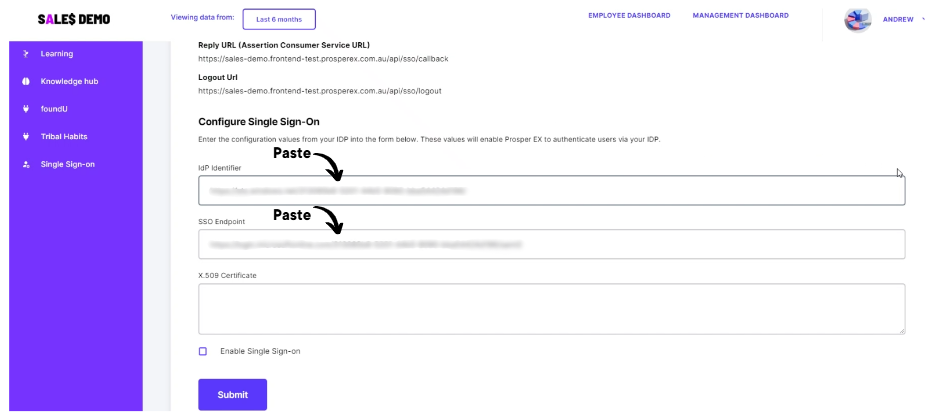
Step 4.2 – Copy the ‘Entra Identifier’ from Azure and paste to the ‘IDP Identifier’ in Prosper EX. Also copy the ‘Login URL’ from Azure and paste to the ‘SSO End Point’ In Prosper EX.
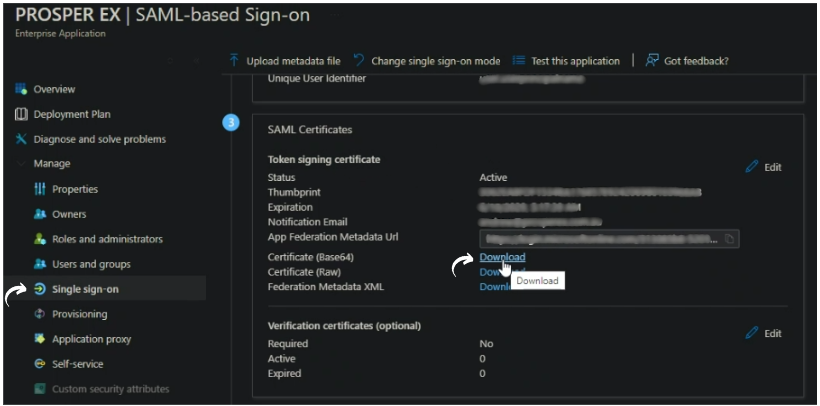
Step 4.3 – Open the Azure tab and download the Signing Certificate.
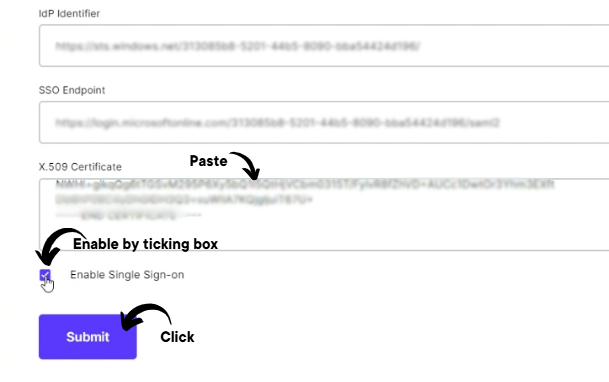
Step 4.4 – Open the certificate in notepad, copy the entire certificate.
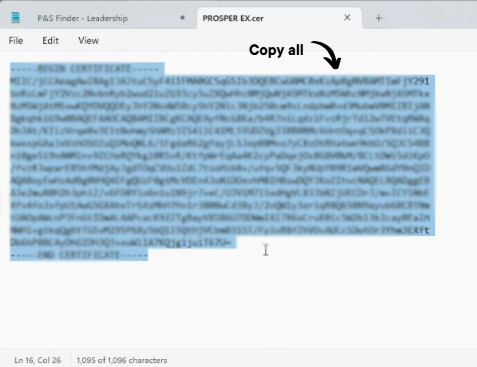
Step 4.5 – Paste the entire certificate in Prosper EX Certificate field. Click ‘Enable Single Sign-On’ box then hit ‘Submit’.
Complete.